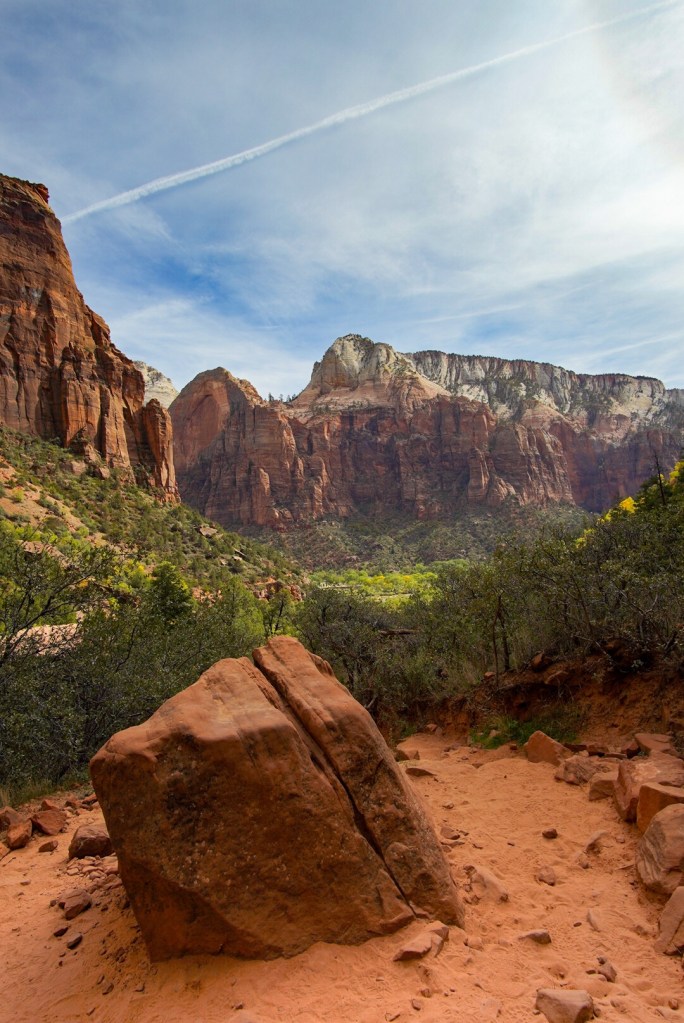
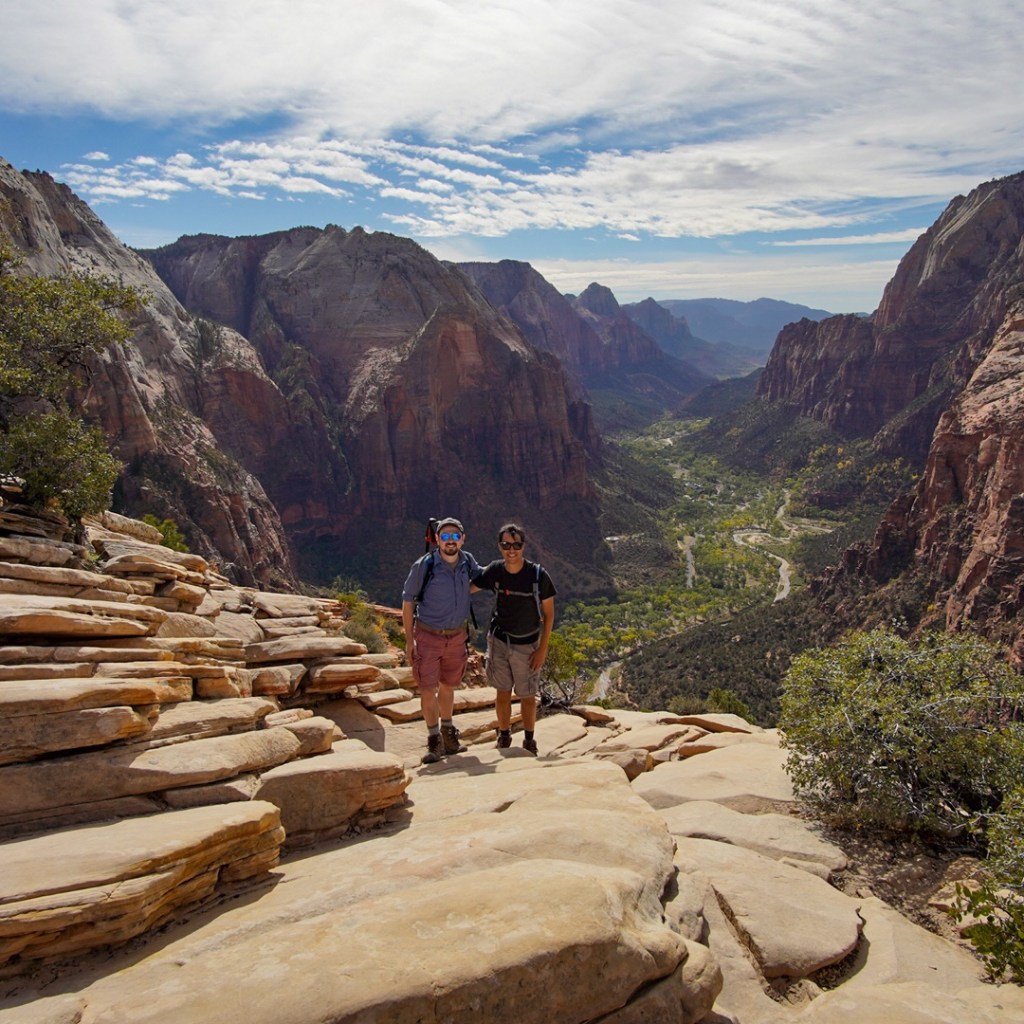
I’ve just gotten back from two weeks hiking in Nevada, Utah, and Arizona. I have a thousand photos to go through and pick the best, but while I process all the pictures here are a few choice pictures which I shared on instagram while on the road.
Fire wave at Valley of Fire State Park, NVSnow Canyon State Park, UTHoodoos at Bryce National Park, UTZion National Park, UTAngel’s Landing’s chain at ZionZion Valley from the top of Angel’s Landing, Zion National Park UT
For these pictures I was experimenting with a newer faster photo editing workflow; still taking the pictures in RAW on my mirrorless camera, then transferring them to my phone to be processed with Lightroom mobile for posting to Instagram. The process worked pretty well, letting me post pictures from my camera almost immediately after the hike, and with almost the same level of post processing as if I were editing on my computer. The major missing feature was lack of support for HDR bracketing which I used a lot in the shadowed canyons of Arizona, so those pictures still need to be processed.
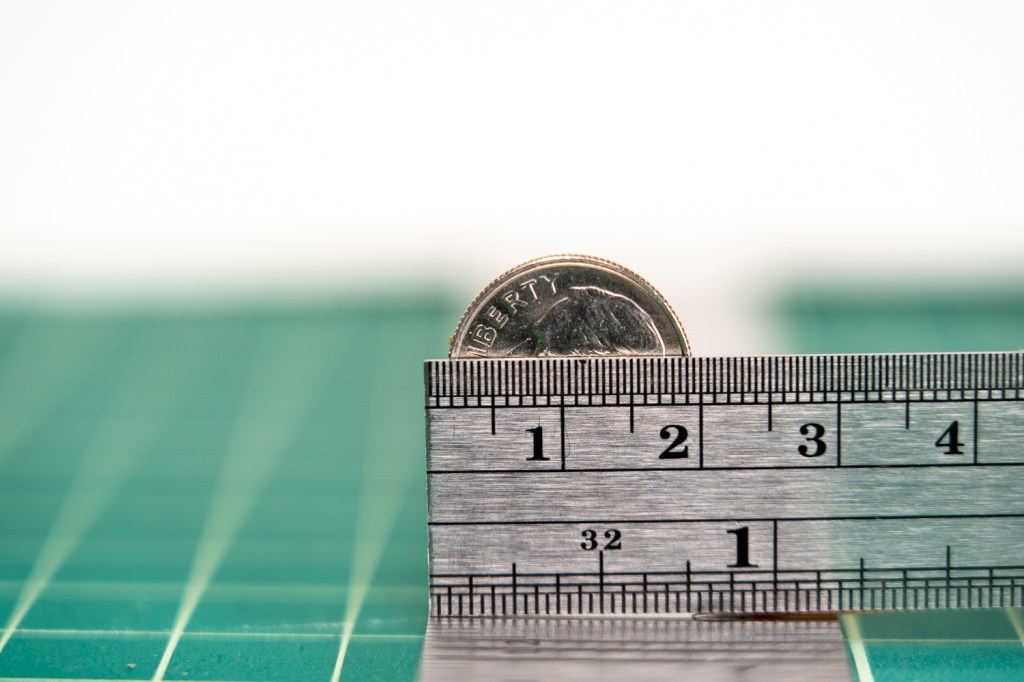
Here is an experiment which demonstrates how I take a lot of my macro shots, and what gives those photos such a smooth creamy background. For the most part I take photos with a Sony 24mm-105mm f4 full frame telephoto lens. Mostly because its a really good multipurpose lens to have around.
This lens is not a dedicated macro lens but its able to take pretty decent macros shots without any modifications.
Minimal focal point of an unmodified 24-104 f4 telephoto lens; about 195mmWith no modification or cropping a 105mm lens gets a pretty detailed picture
That looks good but what if I want to make that dime bigger? The easiest way to make something bigger in the frame is to get closer to it. With this lens we cannot get closer to the subject without losing focus, as we are already at our smallest focal length.
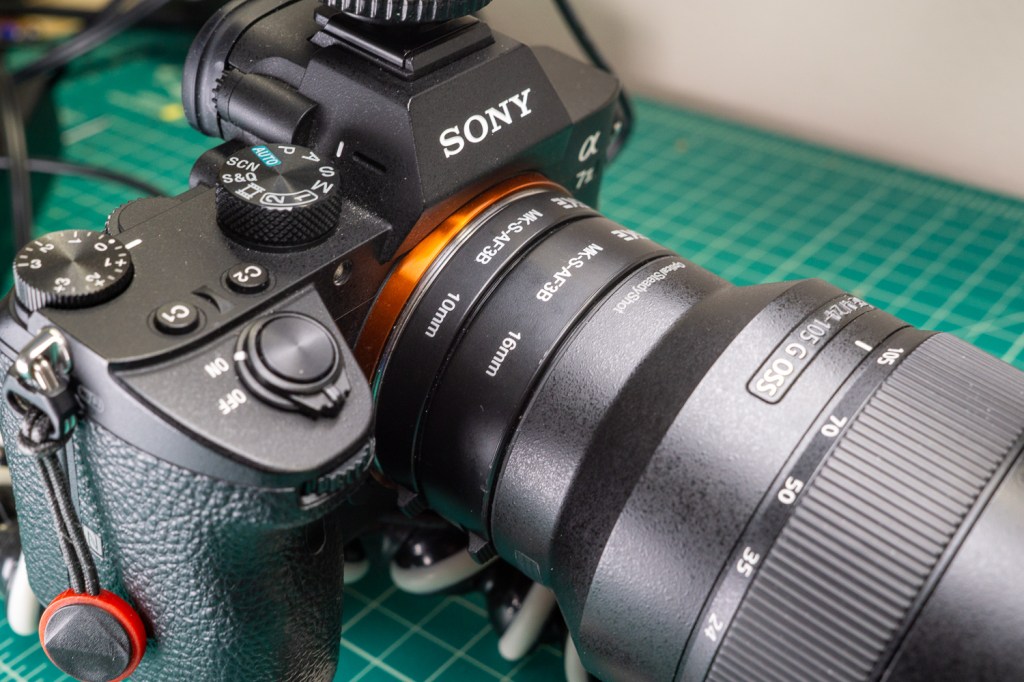
This is where an extension tube can help. Extension tubes are very simple and inexpensive additions which sit in between the camera body and the lens. This moves the plane of focus further back from the lens, which results in a shorter focal distance.
My extension tubes.
I have to extension tubes, one 10mm in height and one 16mm in height. My tubes have all the electrical contacts to keep the lens connected to the camera, which keeps auto focus working. A must for fast flying insects.
Lets add one tube extender and see how that changes the picture.
Increase the distance between the lens and the camera by 10mm
Adding one tube extender allows the camera to get closer to the subject which makes the subject larger in frame, with more detail.
Shifting the focal plane by 10 mm, the minimal focal point is now around 125mmThe dime takes up more of the frame, giving a more detailed shot.
The tube extenders shifting of the focal point also has some other effects. With extension tubes added a lens will no longer be able to focus out to infinity, so they cannot be used for landscapes. The shifted focal point also results in less light hitting the sensor, so it works best in bright areas or with good lighting. Lastly the focal shift narrows the depth of field making it harder to keep subjects sharp, but adding an extreme blur to the background.
Adding another 16mm for a total of 36mm
Extension tubes can also be stacked! Adding more space between the lens increase all the effects. So with 26mm of extension we can get the camera even closer.
The minimal focal point is now around 91mmSubject crisp and large in frame, background completely blurred out.
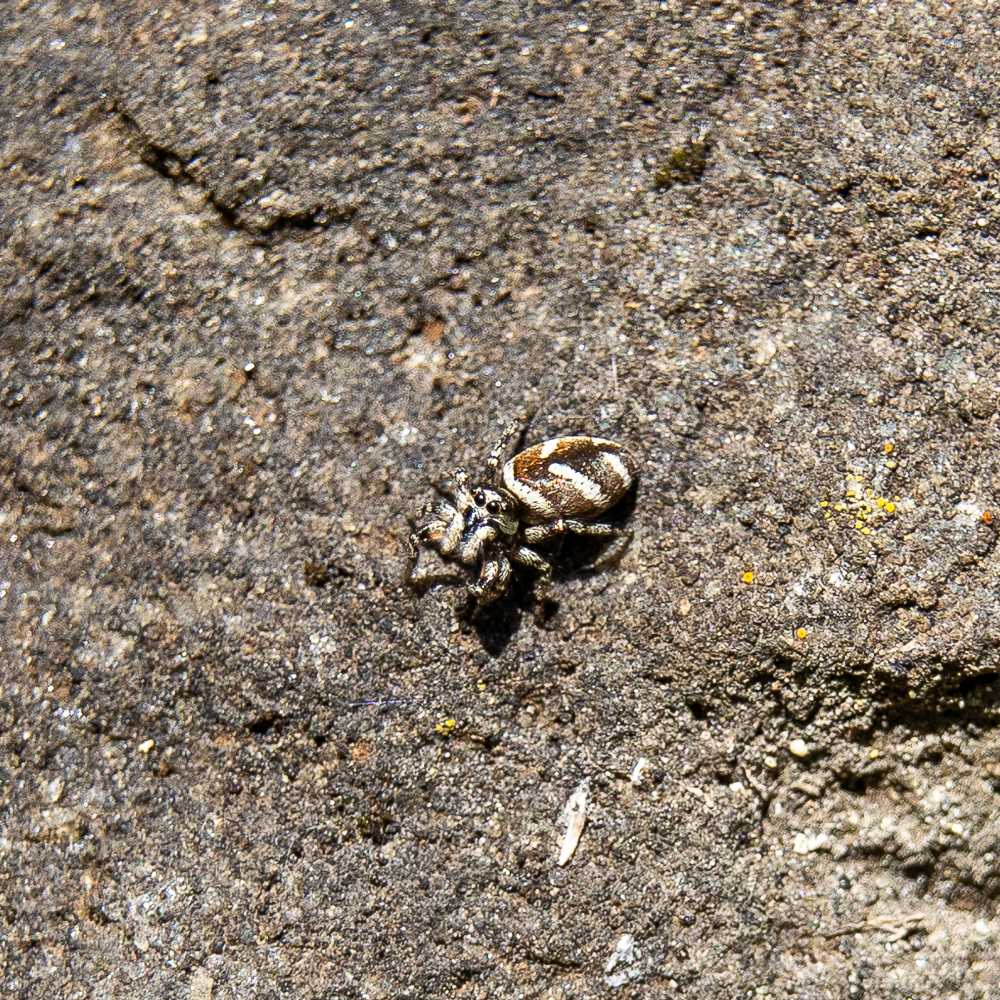
There are many other components to macro photography and lots of other ways to get similar results. This is the setup I tend to use most often, as with out the extension the 24-105 lens is good to have for wide landscapes or tighter head shots. And now that you know the secret to large detail pictures of bees and spiders is getting as close as possible, you may appreciate the small amount of peril involved in getting some of the pictures I’ve taken.