Reflecting on the year: This year is drawing to a close and as part of a retrospective look on the year I am finishing and publishing several blog posts that at one point I started and never completed. Here is a follow up post to on seeing the total solar eclipse in August.
I’ve shared my photos of my experience viewing the total solar eclipse, but there is still another story to tell that starts weeks before the eclipse. How to prepare to be able to point a camera with a magnifying lens directly at the sun for a couple of hours without anything catching on fire.
The sun is an extremely powerful light source. Without proper protection it can melt many little parts of the camera. The camera might survive one or two quick photos but I was planning on leaving this on a tripod pointed directly at the sun for the entirety of the event. For that I needed a special solar filter. This is a much more potent filter than what is in the eclipse glasses usually 3 to 4 ND stops higher. This is needed because these filters are going in front of cameras and telescopes that are focusing a large amount of light into a small point, like burning ants with a magnifying glass.
Some solar filters come with a cardboard cutout the slips over the camera lens easily. The ones that I was able to get we’re just squares of aluminized plastic with no easy way to mount them. This is not uncommon for filters or gels; a professional photographer would have the mount needed to affix this, but I didn’t. These mounts are expensive and the eclipse is only a few days away, it would be hard to get. Maybe I can just make one?

Test printing lens attachment
Some quick measurements and some computer aided design work later and I had a working prototype that could mount the filter to a lens with some rubber bands. Testing reviled that some light was getting in behind the filter and reflecting into the picture leading to some interesting photos, but adjustments we’re needed.

Solar filter attached to printed lens hood with rubber bands

Front plate added to keep filter aligned

Testing the set-up
Early test exposure through the mounted filter
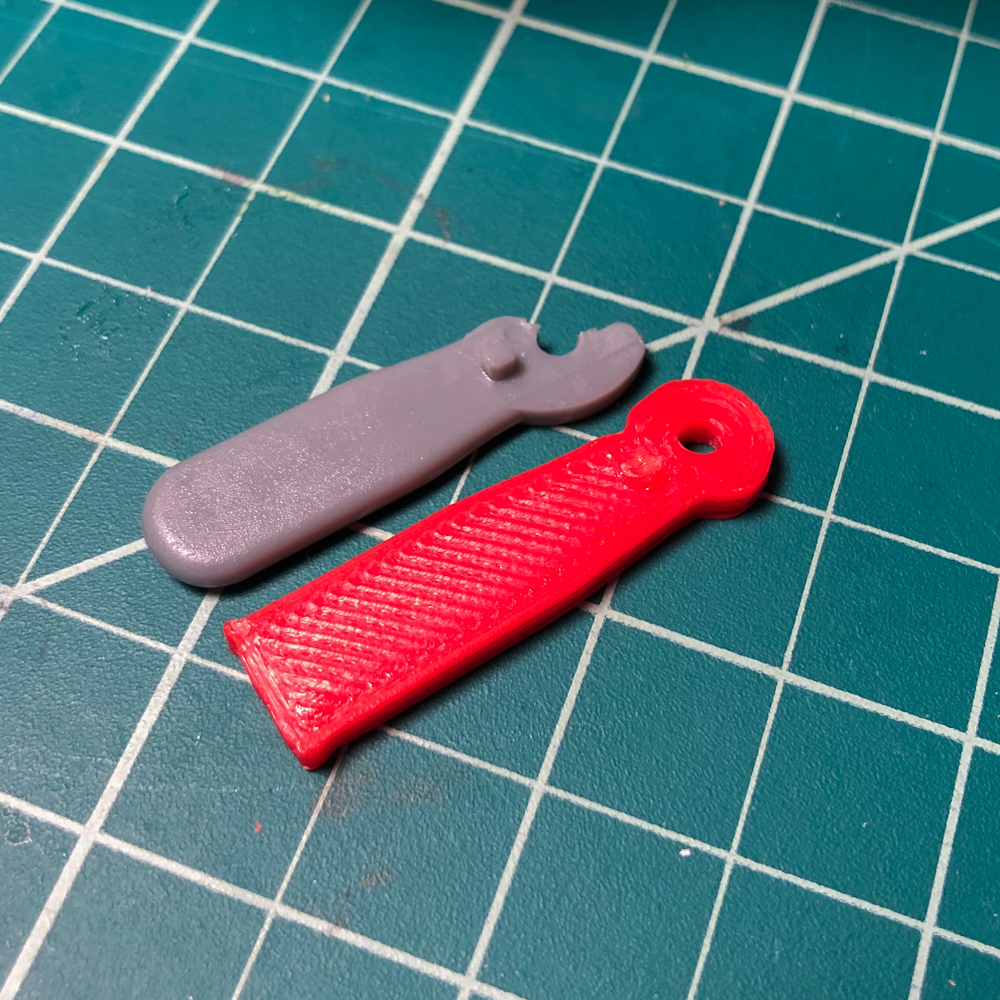
Version 2 worked much better be I wanted a faster and more reliable way to attach and detach the filter, as the solar filter would need to be removed for the two minutes of totality. Third and final iteration added magnetic latching so the filter can just snap on and off from the base. Still not perfect but good enough, it was time to head to Oregon for the eclipse.

The final more robust version with magnetic release
As seen in the previous posts the system worked well, and I’m very happy with the pictures I got. Building this system has spurred an interest in astro-photography, and there is so much that can be done with homemade equipment. This is something that I might continue.

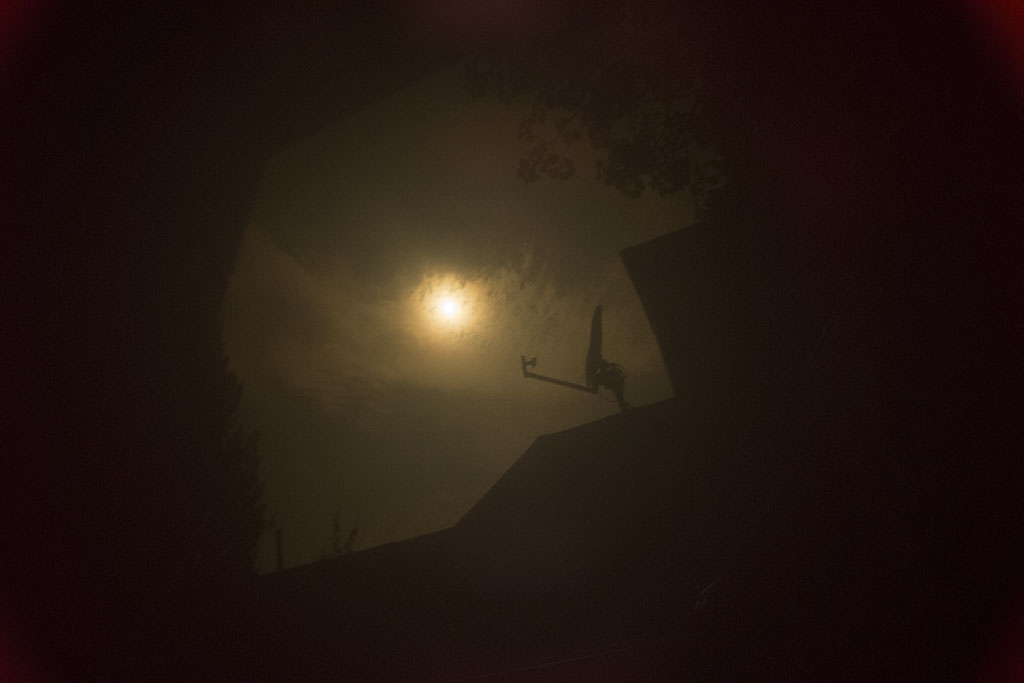
Testing the final setup the day before the eclipse